sudo apt-get it on an old Pixel 3xl
This is a high level guide on some fun I had with an old Google Pixel 3xl with the following goals in mind.
- De-google and run a Linux distro
- Glorious SSH
- Install and run a developer environment
- Potentially host and access services from another device through incoming connections
If you want to skip the why, and learn more about the how, feel free to go straight to LineageOS
Lets go!
Section titled “Lets go!”We recently hit spring (supposedly) which means its that time of the year to clean out the tech closets. After a lifetime of advocating to reduce “tech debt”, I always find it funny opening my closet to find decades of technology just sitting there dormant. Like warriors of past the closet doubles as hall of fallen heroes, each with it’s own tale of conquest and heroism from a simpler time.
So as one does, I come back to clean this space every few months and each time a new seemingly simple, but usually complicated, idea pops into my mind. Things like “I wonder if I can run RAID across 5 old laptop hard drives?” or “I should build a cyberdeck out of all these extra parts”. To be fair, one of these ideas resulted in installing Arch on an old ThinkPad - a decision I am extremely happy with. (I use Arch btw).
So this time when the cogs started to turn there were two things in the back of my mind that really helped speed things along.
The first was the concept of ownership as opposed to being a hostage. Whilst this isn’t a piece dedicated to that, and many before me have done it justice the crux of it came down to.
- Right to repair
- Freedom to modify for personal use
- Unrestricted access to features
The second came from an odd place.
Long time content creator recently turned 10x engineer PewDiePie has gone on an interesting journey building fun projects and solving tech problems. He has, probably like me, opened the tech closet and gazed upon the titans of past thinking of giving them purpose once more. One project that stood out was self hosting using a Steam deck.
So with an optimistic glimmer in my eye and my gaze affixed on a retired Google Pixel 3xl from 2018, I set forth to conquer what I thought would be a few simple milestones.
- De-google and run a Linux distro on my Pixel 3xl
- Glorious SSH
- Install and run a developer environment
- Potentially host and access services from another device through incoming connections
LineageOS
Section titled “LineageOS”The first step was to “unshackled the Google from Google” a task that was surprisingly accessible. I know its easy to pick at issues with big tech companies - but for what its worth, at least there’s a way to do this with relative ease.
I thoroughly enjoyed this process because it was reminiscent of installing an operating system back in the “good old days”. A time where taking careful note of hardware compatibility and kernels could be the difference between a short simple process or hours of troubleshooting.
So after some research I found there weren’t many choices for my relic and the best suited one would be LineageOS an android distribution that has an impressive amount of devices it supports.
This isn’t going to be a step by step guide on how to install LineageOS as the documentation does a good job in explaining the process there are however key things when tinkering with an android phone that were critical to installing LineageOS and subsequently rooting the phone. These being Android Developer Options, Android Debug Bridge (adb) and Fastboot.
Android Developer Options
Section titled “Android Developer Options”To access and run debugging via a USB Cable the phone required Android developer options enabled. To enable this
- Go to the phones
Settings - Press
About Phone - Tap the
Build Numberseven times - Enter your pin or password if prompted.
You can then find the Developer Options menu in your main settings, often under System. This menu will be crucial to enabling USB Debugging which will be used through out the process.
Android Debug Bridge (ADB) and Fastboot
Section titled “Android Debug Bridge (ADB) and Fastboot”As part of installing LineageOS the process will require you to reboot into a bootloader by using a command line interface. ADB is a command line tool which allows you to communicate with the device and perform a number of privileged actions after enabling developer access.
If you have used Android Studio or an Android SDK chances are you already have adb installed to check this you can run the command in your preferred command line interface. The communication between PC and Phone is usually done over a USB cable, but Wi-Fi connections are also supported.
adb versionUsing fastboot (if your device supports it) should simply involve rebooting to fastboot mode. While in fastboot mode, you can type fastboot devices to verify that your device is being detected
To run adb and fastboot you will need to consider your OS and follow the instructions here
Su (magisk)
Section titled “Su (magisk)”Even after installing LineageOS there still will be an issue when trying to run processes or commands requiring elevated privileges. Simply put without rooting the device the su command is non existent. To do this you can follow along here
The shortened guide below.
- Download and install the Magisk mobile app
- Within the app get a copy of one of the following images
boot.img,init_boot.imgorrecovery.img. (If you don’t see either of these see the detailed instruction linked in the first paragraph for more details). - Copy the
boot/init_boot/<recovery_image.img>to your phone - Press
installin theMagisksection (not the app section). - Choose Select and Patch a File followed by your recovery image.
- Once installation is done copy your new
imgfile viaadb. (Your device might have a different folder structure instead ofsdcard) Warning: Never download and use a randomimgfile online - always patch your own file to avoid any security or configuration issues.
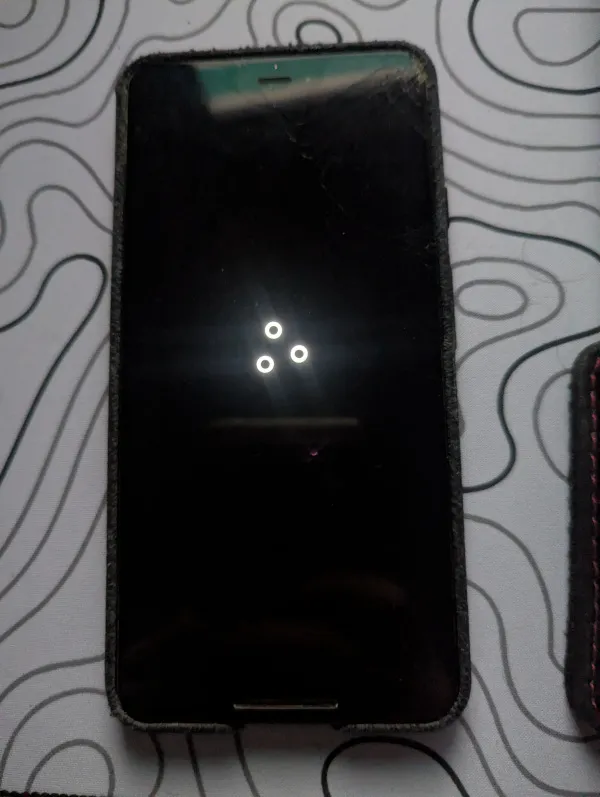
adb pull /sdcard/Download/magisk_patched_[random_strings].img <your_pc_directory> # You can use the . symbol to download into the same directory- Reboot phone into recovery mode using
adb -d reboot bootloader - Use
fastbootand point your device to your new image (take note of boot type based on yourimgfile type) and then turn on your phone.
fastboot flash boot /path/to/magisk_patched_[random_strings].img# ORfastboot flash init_boot /path/to/magisk_patched_[random_strings].img# ORfastboot flash recovery /path/to/magisk_patched_[random_strings].img`- Launch the
Magiskapp and selectDirect Installfollowed by another reboot - The phone should now be rooted successfully.
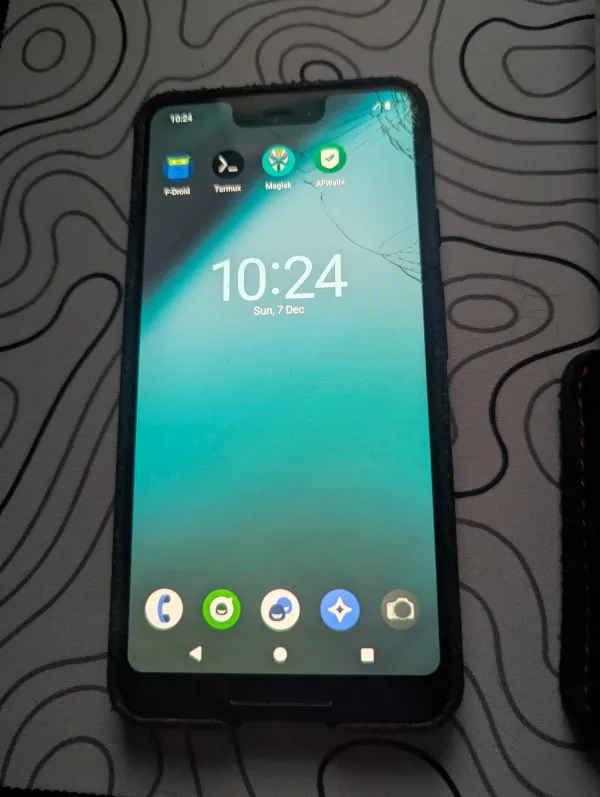
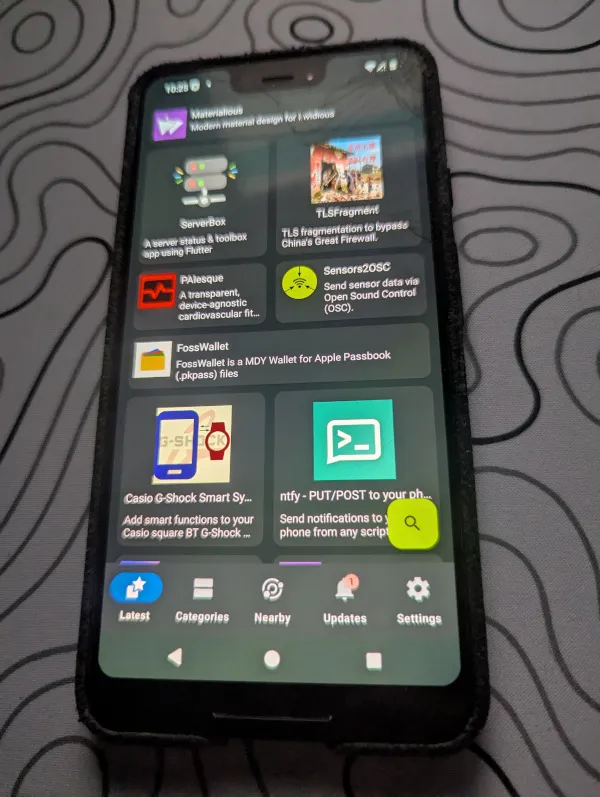
F-Droid and Termux
Section titled “F-Droid and Termux”Now that we have a free and opensource operating system we also need a catalogue of free and opensource applications available for the android platform, and that’s exactly what F-Droid does. Installation of F-Droid is fairly simple you navigate to the main page on the phone hit the big download button and install via the APK.
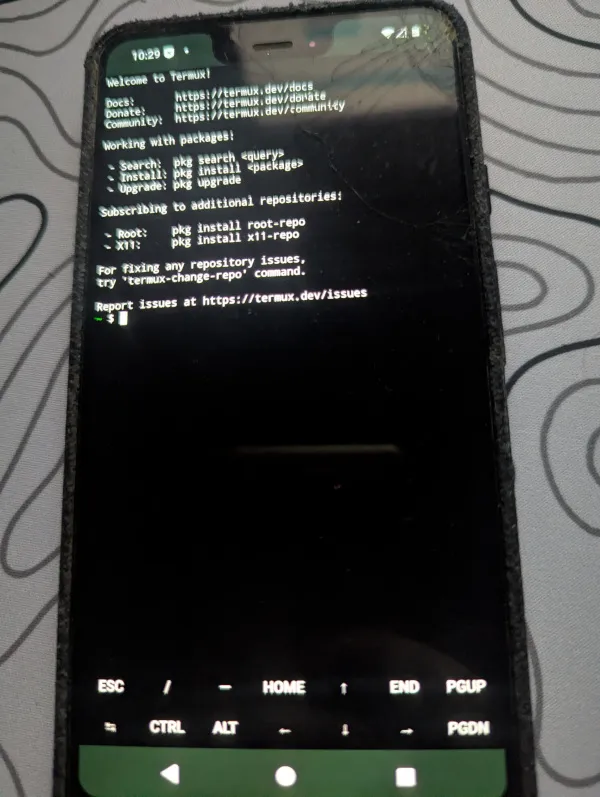
Going back to our goal of SSH and emulating Linux the first step was to ensure we had a terminal we could play with. I decided to go with Termux as it provides an extensive Linux package collection. Heck you could even compile code with gcc and clang.
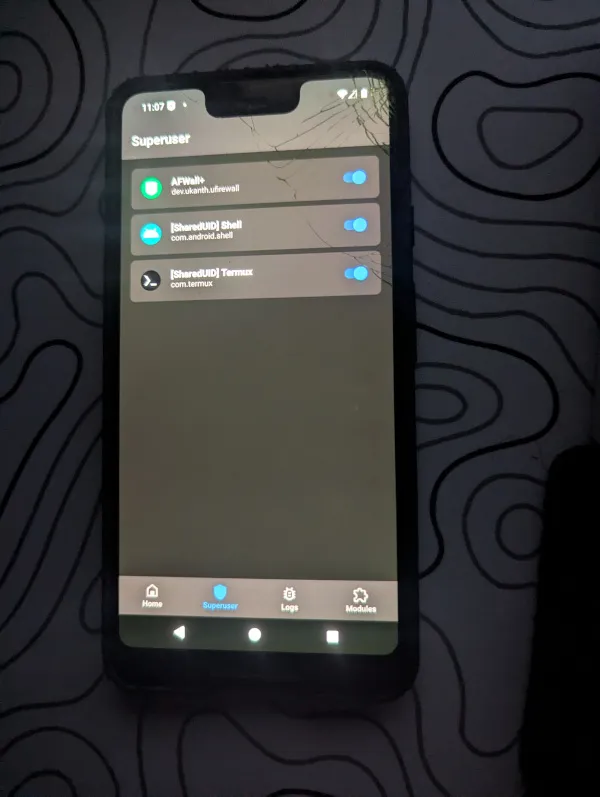
 Now the old Pixel 3XL not only is running a brand new de-Googled OS but it also has a nice terminal emulator waiting for root access. All that’s left is to ensure we allow for
 Termux to have said access as a super user.
- Open
Termux - run the
sucommand (insideTermuxon the phone) - Grant access via
Magiskapp (approve prompts on your phone) - execute the
adb shellon your PC - whilst the phone is plugged into your pc (this is akin to having a direct wired connection to your terminal) - type in
suwithin theadb shellterminal on your pc and then approve/verify the access on the phone.
Glorious SSH
Section titled “Glorious SSH”Alas, the last step is to provide remote SSH access (at this stage via local network). Now that we have an elevated terminal and can technically access it straight from our PC via a USB cable it becomes no different to a regular Linux process! You can elect to do this via adb shell or directly on the phone via Termux
- Open
Termux/ oradb shell - Run the command
pkg upgrade && pkg update - Run the command
pkg install openssh - Set a SSH password using the
passwdcommand - Run the
sshdcommand to start the SSH daemon - Check your phones local IP address using the
ifconfigcommand - Check your terminal username using the
whoamicommand (this needs to be done onTermuxdirectly on the phone)
(Optional but recommended) With this setup if the device goes to sleep it will automatically sever the SSH connection - you can stop this behaviour by running the command termux-wake-lock in Termux on the phone.
This stops your device from going into “deep sleep” ensuring access even if the screen is “asleep”.
So by now you should have:
- Phones Local IP
TermuxUsername- SSH Password
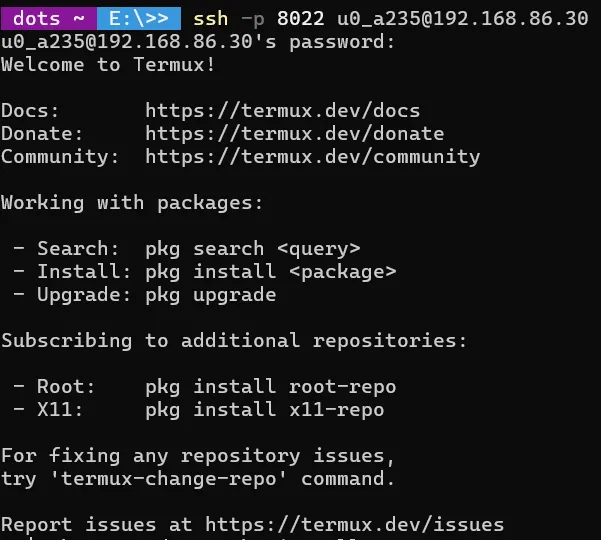
The final check is ensuring you can SSH into the phone to do this open up your favourite CLI which can of course provide you with glorious SSH and type in the following:
ssh -p 8022 <username>@<phone_IP_Address>If everything has been done correctly you should be greeted with something similar to the below image:
proot-distro
Section titled “proot-distro”Termux provides a package called proot-distro which takes care of managing Linux distributions inside Termux. You can install this utility by executing.
pkg install proot-distroBy using proot we open the device up to so much more fun! In my example I went with ubuntu - this was as simple as executing the following commands:
proot-distro install ubuntuproot-distro login ubuntuProot supports the following distros:
- Alpine Linux (edge)
- Arch Linux / Arch Linux 32 / Arch Linux ARM
- Debian (stable)
- Fedora 35
- Manjaro AArch64
- OpenSUSE (Tumbleweed)
- Ubuntu (22.04)
- Void Linux
hey look, my phone now runs a dev environment
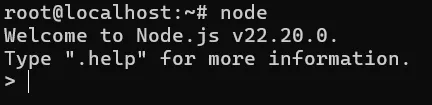
Section titled “hey look, my phone now runs a dev environment”So this was my last goal really, could I run a node server and access it on my local network. Sadly I was able to only get it half done.
There were a few reasons for this but let me start by providing a quick overview on the Node and NPM experience .I took a bit of a different route to get it running because we needed to ensure all the binaries were available a luxury that you overlook when using a desktop OS.
Below you will find the commands in order, I also opted to use Node Version Manager (NVM) to make it easier to manage multiple node packages in the future.
apt update && apt upgradeapt install nodejs npm build-essentialapt install curl -ycurl -o- https://raw.githubusercontent.com/nvm-sh/nvm/v0.39.7/install.sh | bashsource ~/.bashrcnvm --versionnvm install --ltsnvm use --ltsMagic
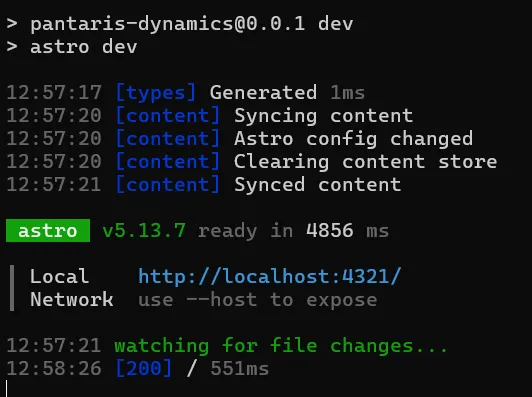
With what I have just demonstrated you can imagine the amount of possibilities that open up, I have seen people turn old phones into a bunch of things including a mobile pen testing tool running Kali Linux.
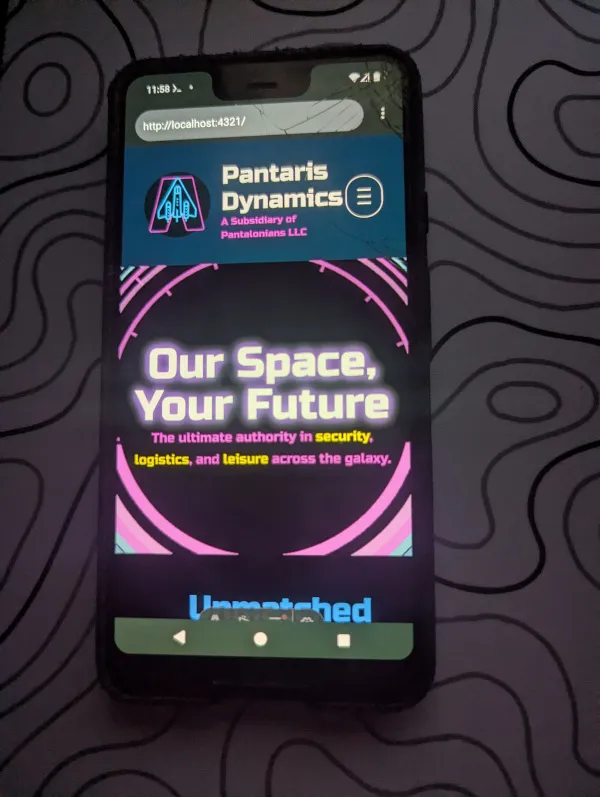
Here’s an Astro site running locally as an example:
 Sadly there was one thing I didn’t account for.
Nobody escapes the Google
Section titled “Nobody escapes the Google” Just when I thought I was out Google pulled me right back in. Compared to it’s fruit variety the freedom is unmatched however there was still some restriction I had not accounted for. The NIC is extremely locked down in most mobile phones (for good reason!) that certainly is no different in the case of the pixel.
After trying almost every option to fix the error A system error occurred: uv_interface_addresses returned Unknown system error 13 (Unknown system error 13). I staggered off to lick my wounds - Whilst I think there still might be a way for me to beat the final challenge - perhaps it’s a tale for another day.
In retrospect the issue stems from permissions as the libuv library tries to call the function os.networkInterfaces(). This function triggers an Access denied on modern Android (11+) as querying network interface details are restricted.
This was a fun exercise and it has given me something to do with an otherwise dormant relic of the past. I would always recommend finding ways to give old tech a new purpose - you may even surprise yourself with the results.